What to Expect During a Drywall Installation Project?
Drywall installation follows a clear, step-by-step sequence. We move from pre-installation inspections to panel hanging, then through multi-coat finishing and a detailed final inspection. Timelines range from a few days for small spaces to several weeks for large custom homes.
We plan each stage with insulation, rough-ins, and drying cycles in mind. That coordination prevents delays, protects long-term performance, and delivers a smooth, durable finish that holds up over time.
Key Takeaways
- Project timelines vary based on home size, ceiling height, finish level, inspection approvals, and coordination with other trades.
We set realistic schedules based on square footage, design complexity, and trade sequencing. Higher ceilings, detailed layouts, and stricter finish levels add time. Inspection approvals and jobsite readiness also influence progress. - Drywall hanging begins only after framing, rough-ins, insulation, and air sealing are complete and inspected.
We start hanging panels only after we confirm framing accuracy, mechanical and electrical rough-ins, insulation, and air sealing meet code and project standards. Skipping this step creates costly rework and compromises performance. - Panels are installed ceilings first, then walls, with precise fastening and tight seams to reduce future cracks and air movement.
We hang ceilings before walls to improve structural stability and seam alignment. Our team uses consistent fastening patterns and tight joints to limit movement, prevent nail pops, and reduce air leakage. - Taping and mudding require multiple coats with full drying and sanding between each stage to prevent visible defects.
We apply joint compound in controlled layers. Each coat dries fully before we sand and apply the next. Rushing this phase leads to shrinkage, ridges, and visible seams under paint or lighting. - Finish level selection, texture application, and final inspection directly impact appearance, schedule, and long-term performance.
We help determine the right finish level based on lighting, paint sheen, and design goals. Smooth finishes require more labor and drying time, while textures can conceal minor surface variations. A thorough final inspection ensures surfaces meet expectations before primer and paint begin.
How Long the Drywall Installation Process Takes and What Affects the Timeline
The drywall installation process follows a predictable sequence, but the overall timeline depends on project size and finish level. In Arizona homes, we typically see the following ranges:
- Small remodel or single-room project: 3–7 days
- Average home (2,000–3,000 sq. ft.): 1–3 weeks depending on finish level and scope
- Larger custom homes or light commercial builds: several weeks
An accurate drywall project timeline depends on more than square footage. Home size, ceiling height, inspection scheduling, finishing level, and coordination with other trades all play a role. Drying time between coats also affects progress.
Arizona’s dry climate often helps joint compound dry faster than in humid regions. Even so, each coat must cure properly before sanding or recoating. Rushing this stage can lead to cracking or surface defects.
Common delays include failed framing, electrical, or plumbing inspections that require corrections. Incomplete insulation or air sealing before hanging delays progress. Change orders, upgraded finishes such as Level 5 instead of Level 4, and added design features also extend schedules.
Coordination is critical. Before we close up walls, insulation, spray foam, air sealing, HVAC rough-ins, and inspections must all be complete. Once drywall goes up, correcting missed details becomes disruptive and expensive. Aligning trades early keeps the drywall work steps efficient and protects long-term building performance.
What Happens Before Drywall Hanging Begins
Preparation sets the tone for the entire project. We don’t hang drywall until key inspections and rough-ins are complete.
The site must meet these conditions:
- Final framing inspection approved
- Electrical, plumbing, and HVAC rough-ins installed and inspected
- Insulation and air sealing fully installed
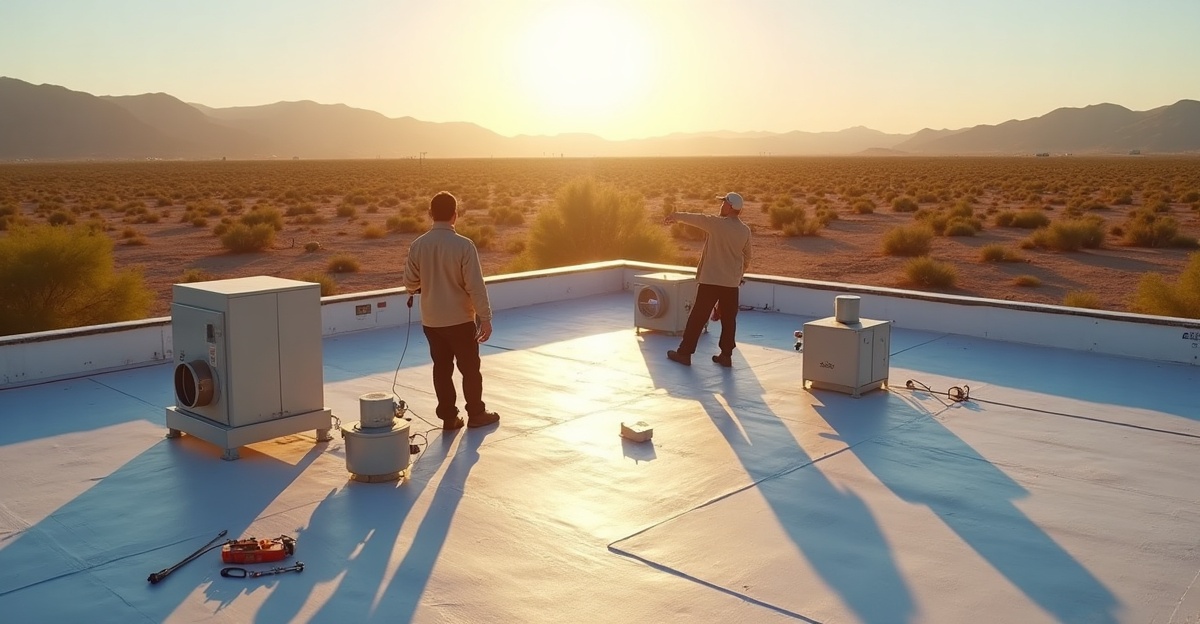
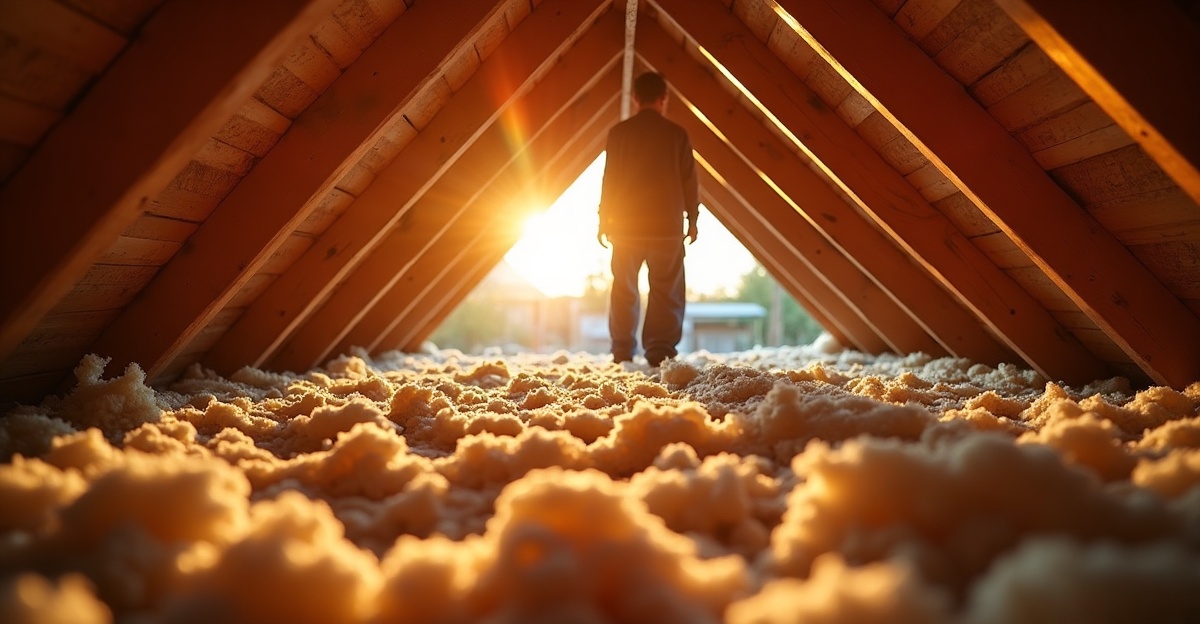
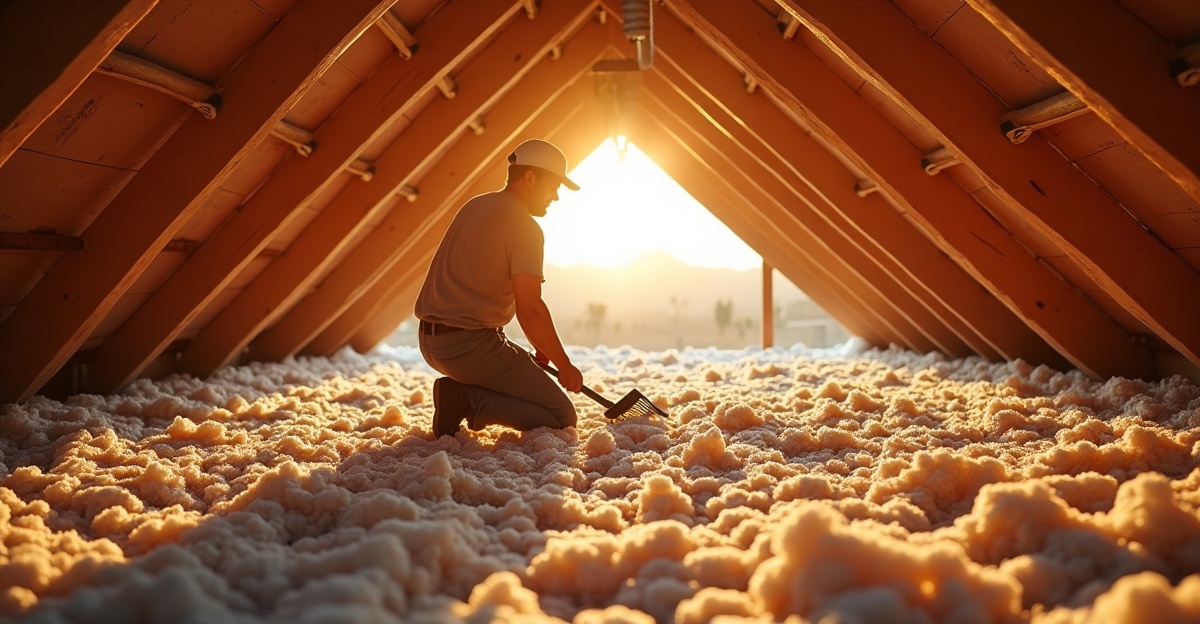
Insulation matters in Arizona’s climate. Gaps or skipped air sealing can reduce comfort and increase cooling costs. We often recommend reviewing residential insulation services before drywall begins to ensure thermal performance is locked in behind the walls.
Homeowners also play a role in preparation. Before the crew arrives, we recommend:
- Clearing rooms, closets, and wall areas
- Removing or covering valuables and décor
- Planning for limited access to certain rooms
- Securing pets
- Protecting HVAC returns from dust where possible
Drywall sheets are typically delivered in advance and stacked indoors to acclimate. Our team reviews the layout plan and board orientation before installation starts. Proper planning reduces waste and speeds up the hanging phase.
This stage directly affects long-term results. Once drywall is installed, correcting missed insulation gaps or sealing issues requires cutting into finished surfaces. Taking the time to prepare ensures better comfort, lower energy use, and fewer callbacks.
Hanging and Fastening: Installing the Drywall Panels
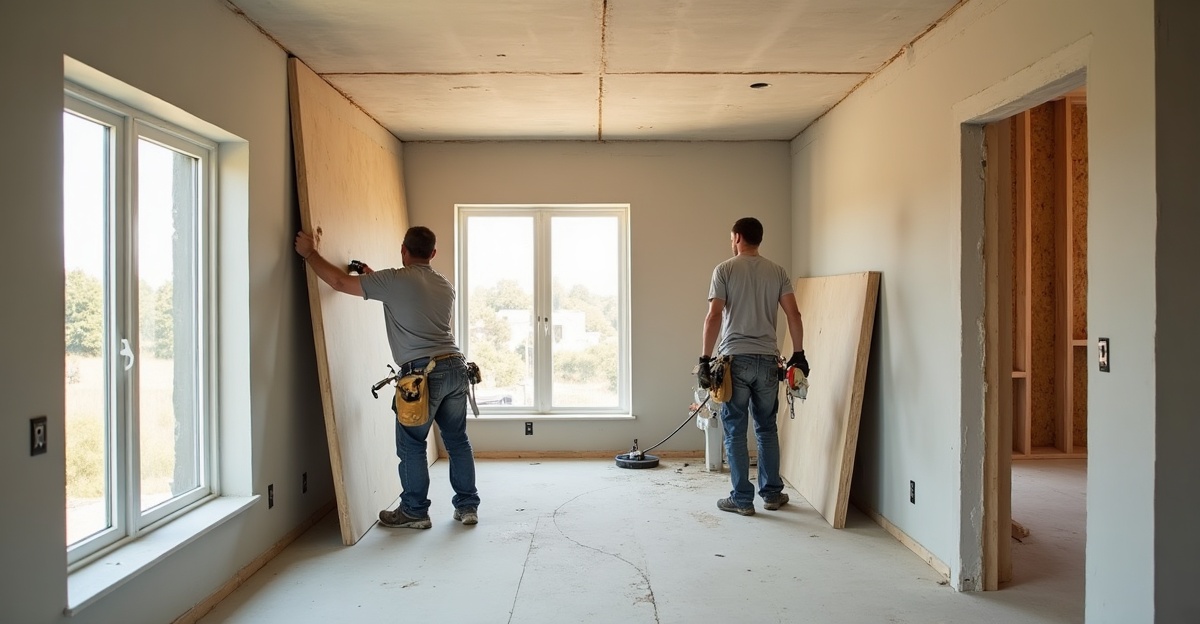
Hanging drywall follows a clear sequence within the larger drywall installation process.
Ceilings are typically hung first. This approach supports wall panels tightly against ceiling boards, reducing gaps at corners. After ceilings, wall panels are measured, cut, and fitted around windows, doors, outlets, and fixtures.
Precision is critical. Panels must align closely at seams. Screws are installed at code-compliant spacing and driven to the correct depth. Overdriven screws weaken holding power. Shallow screws create surface bumps.
Clean cuts around switches and outlets ensure devices sit flush after trim-out. Tight seams and proper fastening reduce future cracks and nail pops.
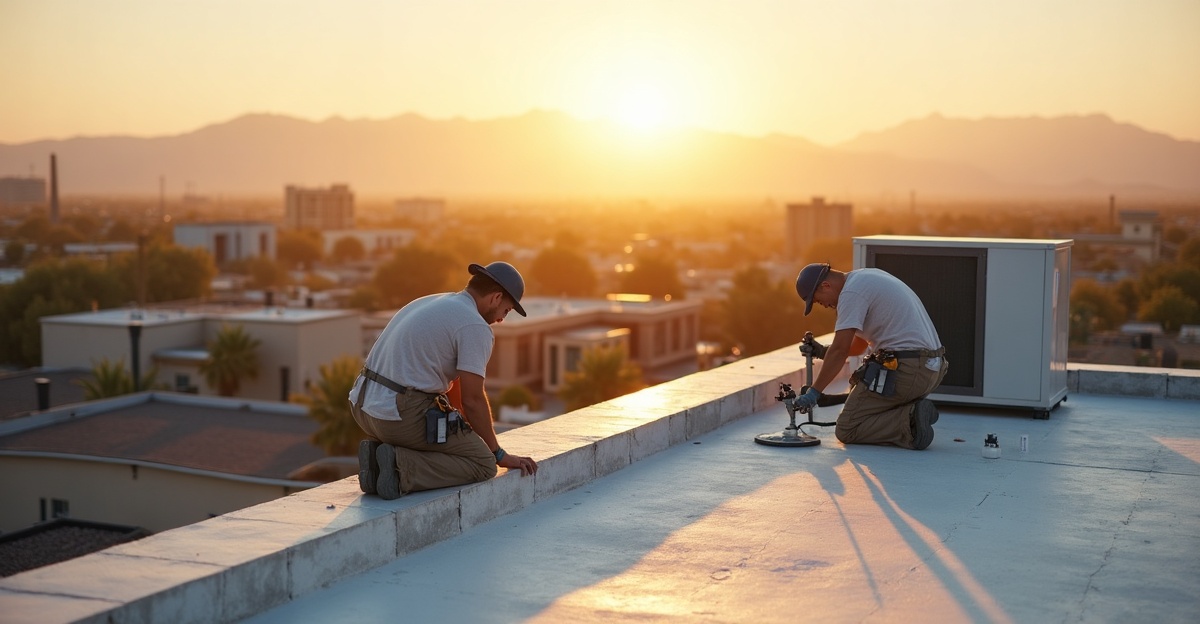
Project type influences pacing. New construction usually moves faster because framing is open and accessible. Remodels demand additional care, surface protection, and patchwork around existing finishes. Light commercial projects may require specific board types or fire-rated assemblies that affect material choice and scheduling. For larger builds, commercial insulation services often coordinate closely with drywall crews to meet code and performance standards.
Proper hanging supports durability and air control. Loose boards and wide gaps allow unwanted air movement. Tight installation strengthens the wall assembly and supports insulation performance behind it.
Taping, Mudding, and Drying Cycles: Building the Surface
After panels are secured, finishing begins. This phase involves multiple drywall work steps and requires patience.
Seams and corners receive tape, which reinforces joints. A first coat of joint compound, often called mud, is applied over fasteners and seams. Once dry, additional coats are applied. Most projects require two to three coats total.
In Arizona’s dry conditions, each coat often dries in 12–24 hours. Cooler months can extend that timeframe. Even in dry air, we don’t shortcut curing. Sanding or recoating too early leads to weak joints and visible flaws.
Between coats, crews sand high spots and feather edges to create a smooth surface. This step generates dust. We use containment methods and ventilation practices to limit spread, but some dust and noise from sanding equipment are unavoidable. Temporary room access restrictions are common during this phase.
Homeowners can usually remain in the home, especially during remodels, but expectations should be clear. There will be noise. There will be dust. Short-term inconvenience protects long-term appearance and durability.
Allowing each coat to dry fully reduces cracking and surface defects. Skipping or compressing this stage almost always shows up later under paint and lighting.
Finishing Levels, Texture, and Paint Readiness
Finish level significantly affects cost, appearance, and schedule.
Drywall finishing levels range from Level 1 to Level 5:
- Level 1–2: Basic finish for utility spaces
- Level 3: Suitable as a base for heavy texture
- Level 4: Standard smooth wall finish for most homes
- Level 5: Highest finish, skim-coated for critical lighting conditions
Higher finish levels require additional skim coats and sanding. That extra work adds time to the drywall project timeline.
Texture application is common in many Arizona homes. Once texture is sprayed or hand-applied, it must dry completely before priming and painting. Rushing primer over damp texture can lead to adhesion issues.
Painting can begin after final sanding, dust removal, visual inspection, and full curing. Surfaces must be clean and dry. At that stage, walls are ready for primer and finish coats.
The selected finish impacts visual quality for years. Under strong natural light, minor flaws become visible. Investing in the appropriate finish level for the space ensures a clean result that holds up over time.
Final Inspection, Cleanup, and Performance Considerations
Before closing out a project, we complete a final walkthrough and inspection. We check for visible seams, ridges, or screw pops. We confirm the agreed-upon finish level matches contract expectations.
Cleanup includes removing scrap material, sweeping surfaces, and controlling leftover dust. A clean workspace supports the next trade, whether that’s painting or final trim.
Performance ties directly to workmanship. Proper hanging, fastening, and sealing help maintain insulation effectiveness and reduce unwanted air movement. In Arizona’s hot climate, even small air leaks can affect comfort and cooling costs.
Proactive coordination prevents problems. Insulation and air sealing must be completed before drywall begins. Reviewing our services can help align insulation, air control, and drywall planning under one coordinated approach.
We encourage homeowners and builders to use this drywall contractor guide to ask direct questions about sequencing, inspections, and finish levels before work starts. Clear expectations and disciplined drywall work steps produce consistent, long-lasting results.